Blender is the most widely used 3D application in the world right now, and for good reason. It is free, extraordinarily capable, and has a plugin ecosystem that rivals tools costing thousands of dollars per year. But if you have ever tried to import a 3D asset into Blender and ended up staring at a grey, untextured mesh floating at a bizarre scale in the middle of your scene, you already know that importing assets is not always the straightforward process it should be.
Missing textures. Wrong scale. Broken materials. Inverted normals. Geometry that imports as a hundred separate objects instead of one clean mesh. These are not rare edge cases, they are the everyday reality of working with external assets in Blender, and they trip up beginners and experienced artists alike.
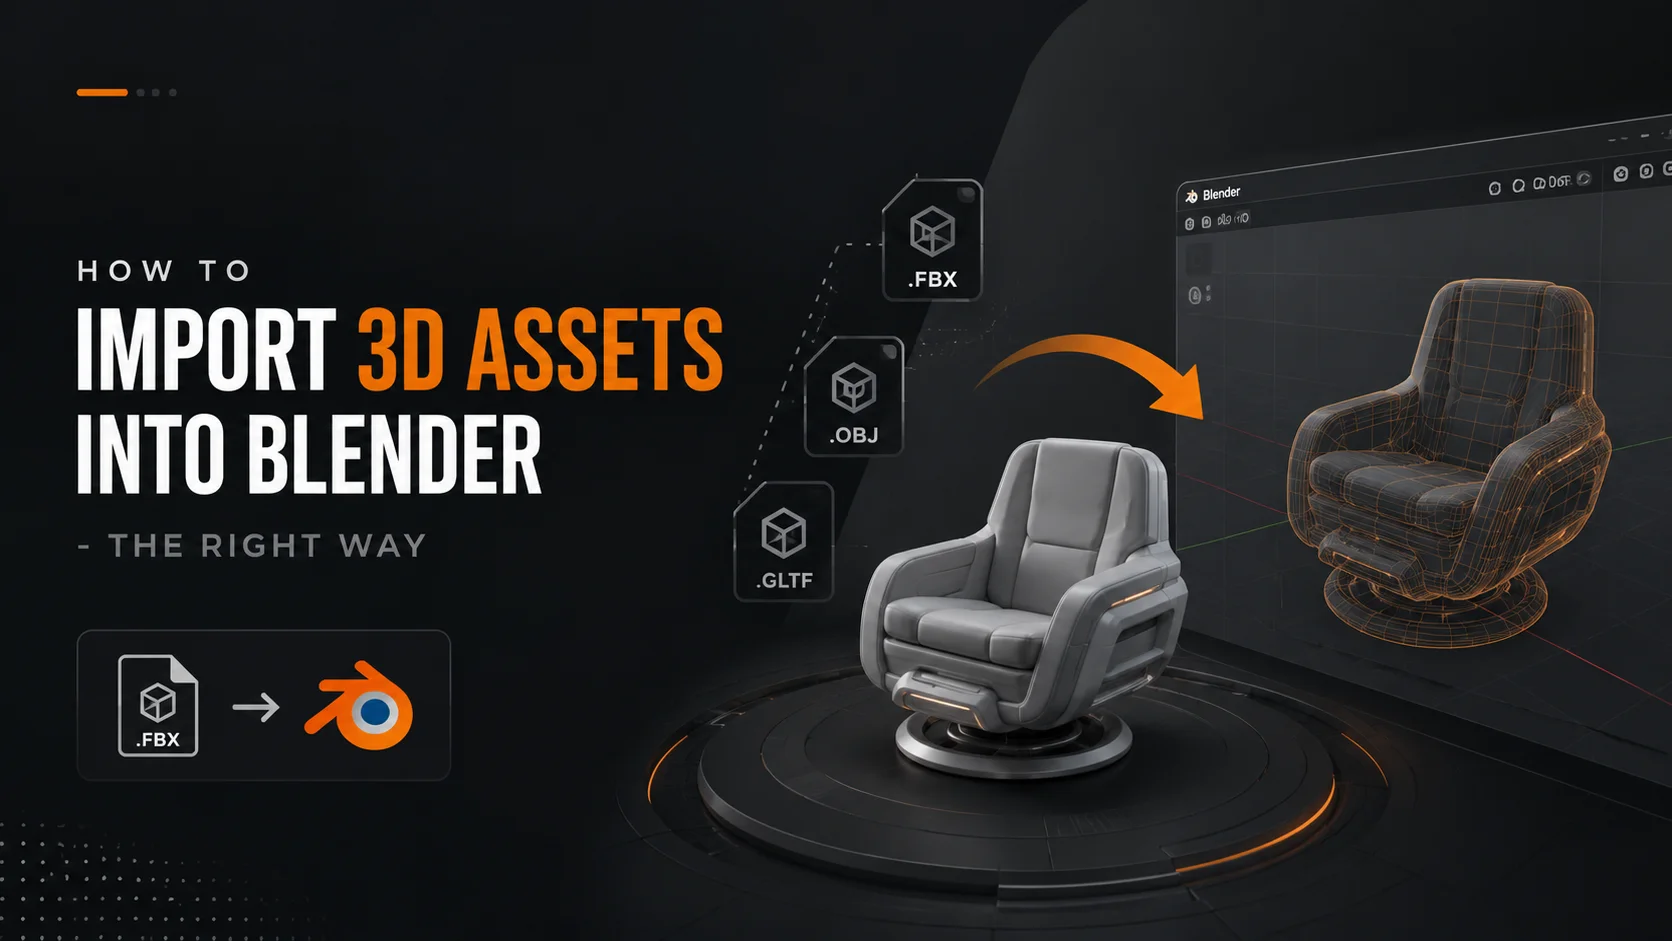
This guide covers the right way to import every major 3D file format into Blender, with the exact settings that actually work, the most common problems and their fixes, and the fastest workflow for artists who import assets regularly.
Before You Import: Two Things to Check First
Before touching the import menu, two quick checks will save you significant frustration.
Not every format imports equally well in Blender. Some formats require specific import settings. Some lose data on import regardless of settings. Knowing what you are working with before you start helps you set expectations and choose the right approach.
The formats Blender handles best, in order of reliability:
GLTF / GLB - Best overall. Native support, PBR materials import correctly, scale is consistent.
FBX - Good support but materials frequently need manual reconnection. Most common source of import headaches.
OBJ - Reliable for geometry. Materials are basic and usually need rework. No animation support.
USD - Solid support in Blender 3.0 and above. Good for complex scene imports.
BLEND - Perfect fidelity when appending or linking from another .blend file. No data loss.
ABC (Alembic) - Good for animation and simulation cache imports.
STL - Geometry only. No materials. Primarily for 3D printing.
If you have a choice of format when downloading an asset, pick GLTF/GLB first, then FBX. Avoid OBJ unless those are the only options available.
2. Check Your Blender Version
Blender's import capabilities have improved significantly across versions. Blender 4.0 and above has substantially better FBX and GLTF import handling than Blender 2.9. If you are on an older version and experiencing persistent import issues, updating Blender itself often resolves them.
This guide covers Blender 4.0 and above.
How to Import GLTF / GLB Into Blender
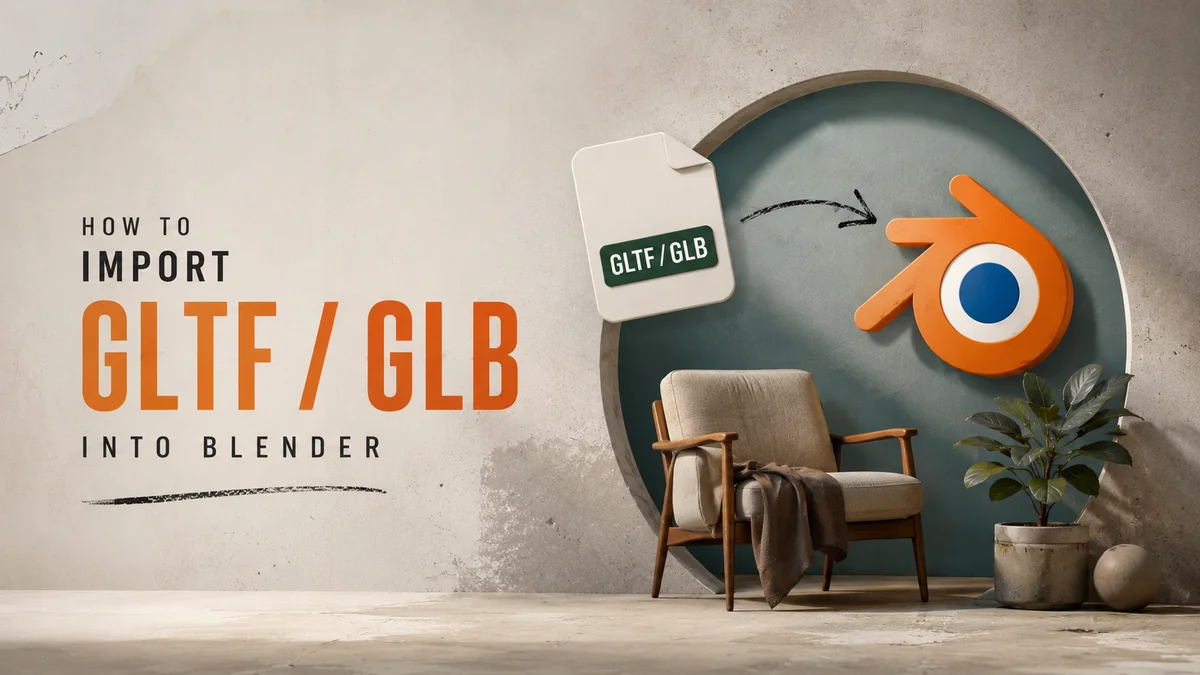
GLTF is the most reliable format for importing 3D assets into Blender and should be your first choice whenever available.
Step-by-Step
Step 1: In Blender, go to File → Import → glTF 2.0 (.glb/.gltf)
Step 2: Navigate to your asset file in the file browser.
Step 3: Before clicking Import, check the import options in the bottom-left panel of the file browser:
Import Shading: Keep as default (Normal Map Convention: OpenGL)
Bone Direction: Keep default unless you are importing a rigged character that requires adjustment
Guess Original Bind Pose: Leave checked for rigged assets
Pack Images: Check this if you want textures embedded in the .blend file rather than referenced externally
Step 4: Click Import glTF 2.0
What to Expect
A well-made GLTF asset will import with:
Geometry correctly positioned and scaled
PBR materials automatically set up in Cycles and EEVEE
Textures connected to the correct material inputs
Animations available in the timeline (if the asset includes them)
GLTF is the closest thing to a "it just works" import experience in Blender. If your asset is available in GLTF or GLB format, use it.
How to Import FBX Into Blender
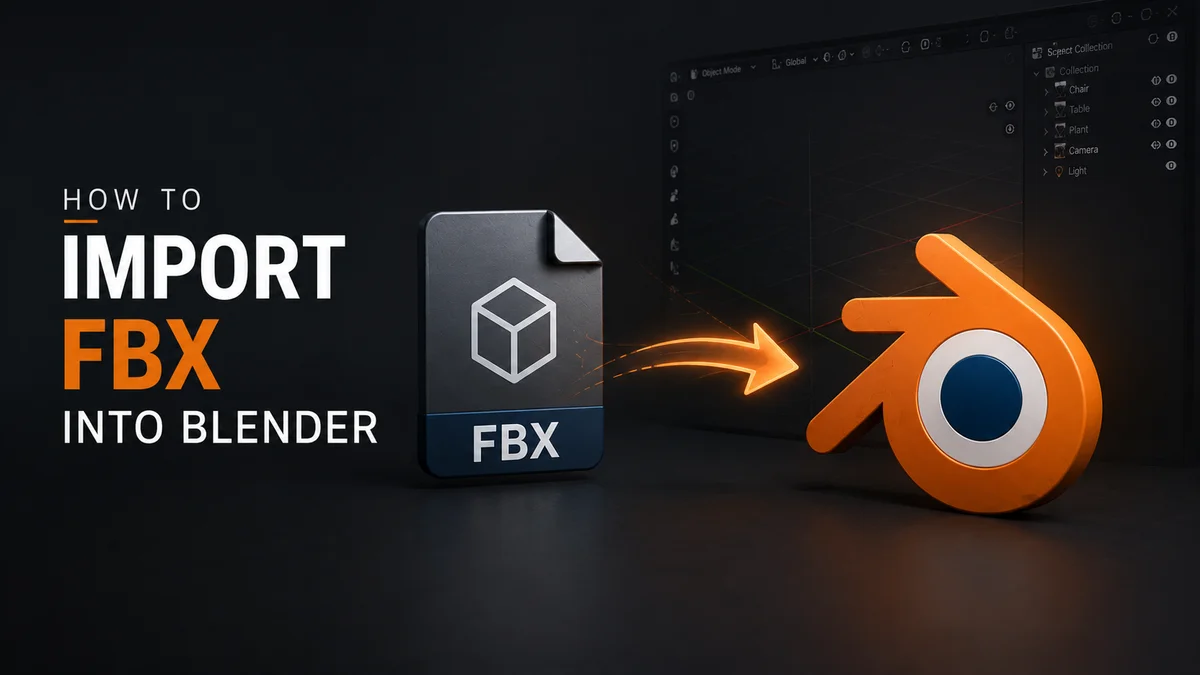
FBX is the most common format for game assets and character rigs, but it is also the source of most import headaches in Blender. The FBX format stores material data differently from Blender's node-based material system, which means materials almost always need manual attention after import.
Step-by-Step
Step 1: Go to File → Import → FBX (.fbx)
Step 2: Navigate to your asset file.
Step 3: Before importing, configure these settings in the bottom-left panel, these matter significantly:
Transform settings:
Scale: 0.01 - This is the single most important FBX import setting. FBX files are commonly exported in centimetres while Blender works in metres. Setting scale to 0.01 converts centimetres to metres and fixes the most common scale issue. If your asset still imports at the wrong scale, try 1.0 and adjust manually.
Apply Transform: Check this to bake scale into the mesh on import. This prevents the "scale is 0.01 in the properties panel" issue that causes problems downstream.
Forward: -Z Forward
Up: Y Up (These match the standard FBX coordinate convention. If your imported asset is rotated 90 degrees, try Z Forward and Y Up instead.)
Armature settings (for rigged characters):
Automatic Bone Orientation: Leave unchecked unless the rig appears broken after import
Primary Bone Axis: Y Axis
Secondary Bone Axis: X Axis
Step 4: Click Import FBX
Fixing Materials After FBX Import
This is where most FBX imports require manual work. After importing, select any object in your scene, go to the Material Properties panel, and check the state of the materials.
Common situation 1 - Materials present but untextured (grey): The material exists but textures are not connected. Open the Shader Editor, find the Principled BSDF node, and manually connect your texture maps. Load the texture files from your asset's texture folder and connect:
Albedo/Diffuse → Base Color
Normal map → Normal Map node → Normal input
Roughness → Roughness input
Metallic → Metallic input
AO → connect to a Mix RGB node with the Base Color
Common situation 2 - Pink materials (missing textures): Blender cannot find the texture files. Either the textures are in a different folder than expected, or the file path stored in the FBX is absolute and does not match your system.
Fix: In the Shader Editor, find the Image Texture nodes showing pink or red. Click the folder icon on each one and navigate to the correct texture file manually. Once you have fixed one material, use the File → External Data → Find Missing Files function to automatically locate remaining textures.
Common situation 3 - Materials look incorrect in render: FBX does not support PBR materials natively. You may need to manually reassign which texture maps connect to which inputs in the Principled BSDF shader. Check your asset's documentation for the correct map assignments.
How to Import OBJ Into Blender

OBJ is a static-only format - no animations, no rigs. But it is extremely reliable for geometry and is the universal fallback when no better format is available.
Step-by-Step
Step 1: Go to File → Import → Wavefront (.obj)
Step 2: Navigate to your .obj file. Make sure the companion .mtl file (material file) is in the same folder, Blender needs it to read material assignments.
Step 3: Import settings:
Forward Axis: -Z (default)
Up Axis: Y (default)
Split By: Keep as default (Object) unless you specifically need geometry split differently
Import Profile: Use the Blender profile for most assets. Use the Obj profile if importing from older software.
Step 4: Click Import OBJ
What to Expect
OBJ imports typically arrive with basic materials assigned (names from the .mtl file) but without PBR textures connected. You will need to open the Shader Editor and manually add and connect your texture maps to the Principled BSDF node. The geometry itself should be clean and correctly positioned in most cases.
How to Import USD Into Blender
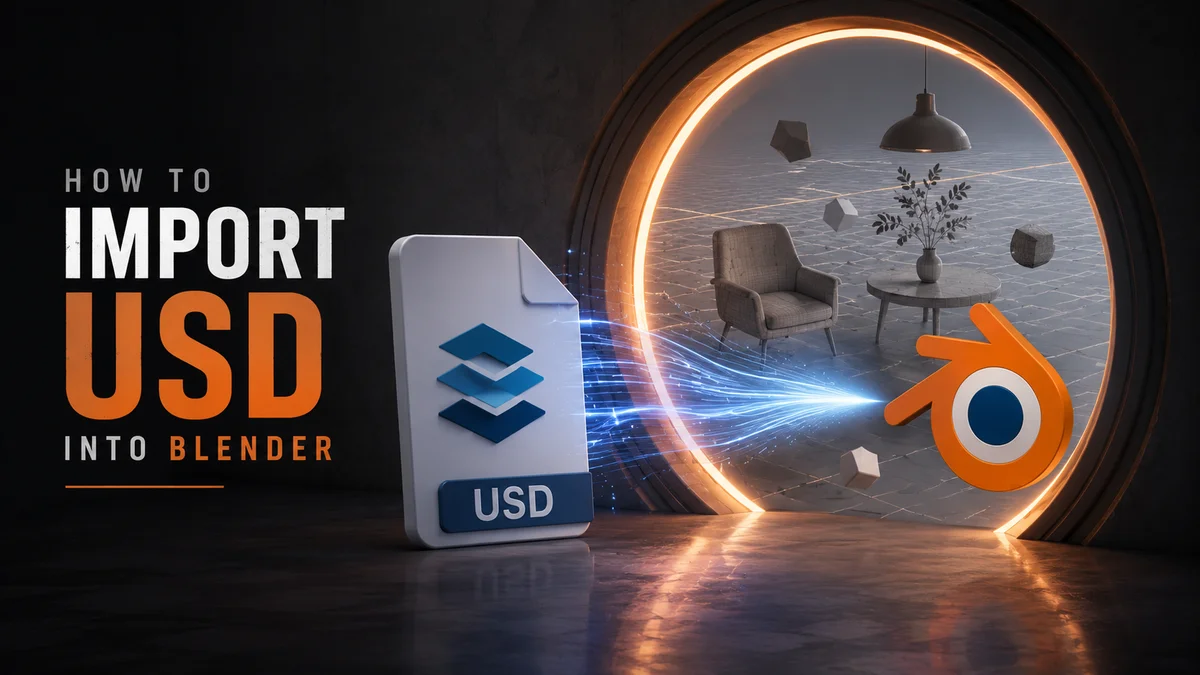
USD support in Blender has improved significantly since version 3.0 and is increasingly relevant as USD adoption grows across the industry.
Step-by-Step
Step 1: Go to File → Import → Universal Scene Description (.usd, .usda, .usdc, .usdz)
Step 2: Navigate to your USD file.
Step 3: Import settings:
Scale: 1.0 (USD typically uses real-world metres)
Import Cameras: Check if the USD contains camera data you want
Import Lights: Check if the USD contains lighting you want to use
Import Materials: Keep checked
Import Meshes: Keep checked
Read USD Visibility: Check this to respect visibility settings stored in the USD file
Step 4: Click Import USD
USD imports are generally clean for static assets. Complex animated USD files with layered overrides may require additional setup.
How to Import Using Blender's Native Asset Library
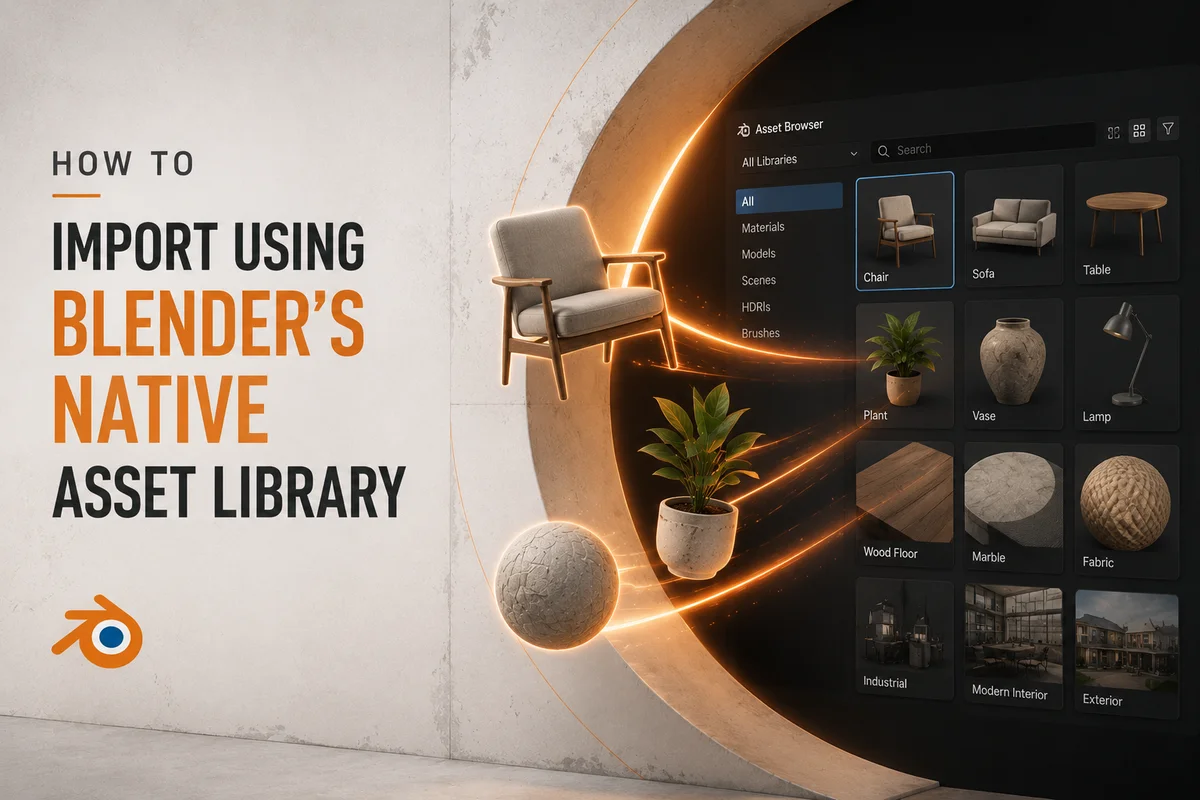
Blender 3.0 introduced a built-in Asset Library system that allows you to mark materials, objects, and worlds as reusable assets and access them from any .blend file via the Asset Browser.
Setting Up Your Asset Library
Step 1: Go to Edit → Preferences → File Paths
Step 2: Under the Asset Libraries section, click the + button and add the path to your organized 3D asset folder. Give it a name (e.g. "My Asset Library").
Step 3: Click Save Preferences
Using the Asset Browser
Step 1: Open the Asset Browser by splitting a panel and changing the editor type to Asset Browser
Step 2: Select your library from the dropdown at the top left
Step 3: Browse your assets visually using thumbnail previews
Step 4: Drag and drop any asset directly into your 3D viewport
This is significantly faster than using File → Import for assets you use regularly. Setting up your library once pays dividends on every future project.
Common Import Problems and Their Fixes
Problem: Asset imports at the wrong scale
Cause: Mismatch between the export unit of the asset and Blender's scene unit.
Fix: For FBX files, set import scale to 0.01. For other formats, after import select all objects, press S and scale to correct size. For a permanent fix, set your Blender scene unit to match the asset's export unit before importing.
Problem: Textures are missing or pink after import
Cause: Texture file paths in the imported file do not match the location on your system.
Fix: Go to File → External Data → Find Missing Files and point Blender to the folder containing your texture files. Blender will automatically reconnect all missing textures it can find.
Problem: Normals appear inverted (inside-out geometry)
Cause: The asset was exported with flipped normals, or the coordinate system does not match.
Fix: In Edit Mode, select all geometry with A, then go to Mesh → Normals → Recalculate Outside (or press Shift+N). For materials with a normal map, check that the Normal Map node is set to the correct color space (Non-Color).
Problem: Asset imports as hundreds of separate objects
Cause: The FBX or OBJ was exported with each face or material as a separate object.
Fix: Select all imported objects in the viewport with A, then press Ctrl+J to join them into a single mesh. Note that this will merge all materials, if you need them separate, group them instead using parenting or collections.
Cause: FBX armature import settings do not match the export settings of the originating software.
Fix: Re-import the FBX with Automatic Bone Orientation checked. If that does not resolve it, try adjusting the Primary and Secondary Bone Axis settings. This is trial and error, FBX rig imports are the most inconsistent part of the format.
Problem: Materials look correct in Solid view but wrong in Render
Cause: The Principled BSDF inputs are not correctly connected for Cycles or EEVEE rendering.
Fix: Open the Shader Editor and verify all texture maps are connected to their correct inputs. Pay particular attention to the color space setting on each Image Texture node, roughness, metallic, normal, and AO maps should be set to Non-Color data. Only the albedo/diffuse map should be set to sRGB.
The Fastest Way to Import Assets Into Blender
Everything described above represents the manual import process. For artists who import assets regularly, sourcing from a marketplace or working from a large library, manual importing has a significant hidden time cost. Format checking, setting configuration, texture reconnection, scale fixing, and material repair can easily consume 30 to 60 minutes per asset in worst-case scenarios.
The fastest import workflow is a native bridge plugin that eliminates all of these steps.
The Korvix3D Blender Bridge Plugin lets you browse the entire Korvix3D asset library directly from inside Blender, in a side panel that sits alongside your 3D viewport. Click any asset and it imports directly into your active scene, correctly scaled, with materials connected, textures intact, at the right position. No format selection, no import settings, no texture hunting.
For artists who import assets regularly, the time saved by a bridge plugin versus manual importing compounds into hours saved per project.
[Install the Korvix3D Blender Plugin →] https://www.korvix3d.com/assets
[Browse the full asset library →] https://www.korvix3d.com/pricing
Pro Tips for Faster Blender Asset Imports
Use Append instead of Import for .blend files. If your asset is available as a .blend file, use File → Append rather than importing. Append lets you selectively bring in specific objects, materials, or collections from another .blend file with perfect fidelity, no conversion, no data loss.
Pack your textures once you are happy with an import. After a successful import with textures correctly connected, go to File → External Data → Pack Resources. This embeds all textures directly in your .blend file so you never get missing texture errors when you move the project folder.
Save a clean import as a .blend template. Once you have a successful import with correct materials and scale, save that .blend file as a reference. Future imports of assets from the same source will use the same settings, and you have a working example to compare against if something goes wrong.
Use Collections to organise imported assets. Every imported asset should go into a named Collection immediately. This keeps complex scenes navigable and makes it easy to hide, isolate, or export specific assets later.
Check the System Console for import errors. Go to Window → Toggle System Console (Windows) to see detailed error messages during import. If something is not importing correctly, the console often tells you exactly why.
Frequently Asked Questions
Why are my textures missing after importing an FBX into Blender? FBX files reference textures via file paths that are often absolute (specific to the original artist's machine) or broken. After import, go to File → External Data → Find Missing Files and point Blender to your texture folder. Alternatively, choose GLTF/GLB format if available, it embeds textures and avoids this problem entirely.
Why does my imported asset look tiny or enormous in Blender? Scale mismatch is the most common FBX import issue. Re-import with Scale set to 0.01 in the import settings. If the asset is from a source that exports in metres, use Scale 1.0. After import, you can also manually resize with S and type the scale factor.
Can I import multiple assets at once in Blender? Yes. In the import file browser, you can select multiple files by holding Shift or Ctrl and clicking. All selected files will import simultaneously. Note that they will all use the same import settings, so this works best when importing multiple assets of the same format from the same source.
What is the best format to import 3D assets into Blender? GLTF/GLB is the most reliable format for Blender imports. It supports PBR materials natively, imports textures correctly, and handles scale consistently. Use FBX when GLTF is not available, particularly for rigged characters and game assets.
How do I import an asset and keep it linked to an external file? Use File → Link instead of File → Append or Import. Linking creates a live connection to the source .blend file, changes in the source file propagate to your scene automatically. This is ideal for assets shared across multiple projects that may be updated over time.
Does Blender support USD import? Yes, Blender 3.0 and above supports USD (.usd, .usda, .usdc, .usdz) import and export. Support has improved significantly in Blender 4.0.

Blender is the most widely used 3D application in the world right now, and for good reason. It is free, extraordinarily capable, and has a plugin ecosystem that rivals tools costing thousands of dollars per year. But if you have ever tried to import a 3D asset into Blender and ended up staring at a grey, untextured mesh floating at a bizarre scale in the middle of your scene, you already know that importing assets is not always the straightforward process it should be.
Missing textures. Wrong scale. Broken materials. Inverted normals. Geometry that imports as a hundred separate objects instead of one clean mesh. These are not rare edge cases, they are the everyday reality of working with external assets in Blender, and they trip up beginners and experienced artists alike.
This guide covers the right way to import every major 3D file format into Blender, with the exact settings that actually work, the most common problems and their fixes, and the fastest workflow for artists who import assets regularly.
Before You Import: Two Things to Check First
Before touching the import menu, two quick checks will save you significant frustration.
1. Check the File Format
Not every format imports equally well in Blender. Some formats require specific import settings. Some lose data on import regardless of settings. Knowing what you are working with before you start helps you set expectations and choose the right approach.
The formats Blender handles best, in order of reliability:
GLTF / GLB - Best overall. Native support, PBR materials import correctly, scale is consistent.
FBX - Good support but materials frequently need manual reconnection. Most common source of import headaches.
OBJ - Reliable for geometry. Materials are basic and usually need rework. No animation support.
USD - Solid support in Blender 3.0 and above. Good for complex scene imports.
BLEND - Perfect fidelity when appending or linking from another .blend file. No data loss.
ABC (Alembic) - Good for animation and simulation cache imports.
STL - Geometry only. No materials. Primarily for 3D printing.
If you have a choice of format when downloading an asset, pick GLTF/GLB first, then FBX. Avoid OBJ unless those are the only options available.
2. Check Your Blender Version
Blender's import capabilities have improved significantly across versions. Blender 4.0 and above has substantially better FBX and GLTF import handling than Blender 2.9. If you are on an older version and experiencing persistent import issues, updating Blender itself often resolves them.
This guide covers Blender 4.0 and above.
How to Import GLTF / GLB Into Blender
GLTF is the most reliable format for importing 3D assets into Blender and should be your first choice whenever available.
Step-by-Step
Step 1: In Blender, go to File → Import → glTF 2.0 (.glb/.gltf)
Step 2: Navigate to your asset file in the file browser.
Step 3: Before clicking Import, check the import options in the bottom-left panel of the file browser:
Import Shading: Keep as default (Normal Map Convention: OpenGL)
Bone Direction: Keep default unless you are importing a rigged character that requires adjustment
Guess Original Bind Pose: Leave checked for rigged assets
Pack Images: Check this if you want textures embedded in the .blend file rather than referenced externally
Step 4: Click Import glTF 2.0
What to Expect
A well-made GLTF asset will import with:
Geometry correctly positioned and scaled
PBR materials automatically set up in Cycles and EEVEE
Textures connected to the correct material inputs
Animations available in the timeline (if the asset includes them)
GLTF is the closest thing to a "it just works" import experience in Blender. If your asset is available in GLTF or GLB format, use it.
How to Import FBX Into Blender
FBX is the most common format for game assets and character rigs, but it is also the source of most import headaches in Blender. The FBX format stores material data differently from Blender's node-based material system, which means materials almost always need manual attention after import.
Step-by-Step
Step 1: Go to File → Import → FBX (.fbx)
Step 2: Navigate to your asset file.
Step 3: Before importing, configure these settings in the bottom-left panel, these matter significantly:
Transform settings:
Scale: 0.01 - This is the single most important FBX import setting. FBX files are commonly exported in centimetres while Blender works in metres. Setting scale to 0.01 converts centimetres to metres and fixes the most common scale issue. If your asset still imports at the wrong scale, try 1.0 and adjust manually.
Apply Transform: Check this to bake scale into the mesh on import. This prevents the "scale is 0.01 in the properties panel" issue that causes problems downstream.
Forward: -Z Forward
Up: Y Up (These match the standard FBX coordinate convention. If your imported asset is rotated 90 degrees, try Z Forward and Y Up instead.)
Armature settings (for rigged characters):
Automatic Bone Orientation: Leave unchecked unless the rig appears broken after import
Primary Bone Axis: Y Axis
Secondary Bone Axis: X Axis
Step 4: Click Import FBX
Fixing Materials After FBX Import
This is where most FBX imports require manual work. After importing, select any object in your scene, go to the Material Properties panel, and check the state of the materials.
Common situation 1 - Materials present but untextured (grey): The material exists but textures are not connected. Open the Shader Editor, find the Principled BSDF node, and manually connect your texture maps. Load the texture files from your asset's texture folder and connect:
Albedo/Diffuse → Base Color
Normal map → Normal Map node → Normal input
Roughness → Roughness input
Metallic → Metallic input
AO → connect to a Mix RGB node with the Base Color
Common situation 2 - Pink materials (missing textures): Blender cannot find the texture files. Either the textures are in a different folder than expected, or the file path stored in the FBX is absolute and does not match your system.
Fix: In the Shader Editor, find the Image Texture nodes showing pink or red. Click the folder icon on each one and navigate to the correct texture file manually. Once you have fixed one material, use the File → External Data → Find Missing Files function to automatically locate remaining textures.
Common situation 3 - Materials look incorrect in render: FBX does not support PBR materials natively. You may need to manually reassign which texture maps connect to which inputs in the Principled BSDF shader. Check your asset's documentation for the correct map assignments.
How to Import OBJ Into Blender
OBJ is a static-only format - no animations, no rigs. But it is extremely reliable for geometry and is the universal fallback when no better format is available.
Step-by-Step
Step 1: Go to File → Import → Wavefront (.obj)
Step 2: Navigate to your .obj file. Make sure the companion .mtl file (material file) is in the same folder, Blender needs it to read material assignments.
Step 3: Import settings:
Forward Axis: -Z (default)
Up Axis: Y (default)
Split By: Keep as default (Object) unless you specifically need geometry split differently
Import Profile: Use the Blender profile for most assets. Use the Obj profile if importing from older software.
Step 4: Click Import OBJ
What to Expect
OBJ imports typically arrive with basic materials assigned (names from the .mtl file) but without PBR textures connected. You will need to open the Shader Editor and manually add and connect your texture maps to the Principled BSDF node. The geometry itself should be clean and correctly positioned in most cases.
How to Import USD Into Blender
USD support in Blender has improved significantly since version 3.0 and is increasingly relevant as USD adoption grows across the industry.
Step-by-Step
Step 1: Go to File → Import → Universal Scene Description (.usd, .usda, .usdc, .usdz)
Step 2: Navigate to your USD file.
Step 3: Import settings:
Scale: 1.0 (USD typically uses real-world metres)
Import Cameras: Check if the USD contains camera data you want
Import Lights: Check if the USD contains lighting you want to use
Import Materials: Keep checked
Import Meshes: Keep checked
Read USD Visibility: Check this to respect visibility settings stored in the USD file
Step 4: Click Import USD
USD imports are generally clean for static assets. Complex animated USD files with layered overrides may require additional setup.
How to Import Using Blender's Native Asset Library
Blender 3.0 introduced a built-in Asset Library system that allows you to mark materials, objects, and worlds as reusable assets and access them from any .blend file via the Asset Browser.
Setting Up Your Asset Library
Step 1: Go to Edit → Preferences → File Paths
Step 2: Under the Asset Libraries section, click the + button and add the path to your organized 3D asset folder. Give it a name (e.g. "My Asset Library").
Step 3: Click Save Preferences
Using the Asset Browser
Step 1: Open the Asset Browser by splitting a panel and changing the editor type to Asset Browser
Step 2: Select your library from the dropdown at the top left
Step 3: Browse your assets visually using thumbnail previews
Step 4: Drag and drop any asset directly into your 3D viewport
This is significantly faster than using File → Import for assets you use regularly. Setting up your library once pays dividends on every future project.
Common Import Problems and Their Fixes
Problem: Asset imports at the wrong scale
Cause: Mismatch between the export unit of the asset and Blender's scene unit.
Fix: For FBX files, set import scale to 0.01. For other formats, after import select all objects, press S and scale to correct size. For a permanent fix, set your Blender scene unit to match the asset's export unit before importing.
Problem: Textures are missing or pink after import
Cause: Texture file paths in the imported file do not match the location on your system.
Fix: Go to File → External Data → Find Missing Files and point Blender to the folder containing your texture files. Blender will automatically reconnect all missing textures it can find.
Problem: Normals appear inverted (inside-out geometry)
Cause: The asset was exported with flipped normals, or the coordinate system does not match.
Fix: In Edit Mode, select all geometry with A, then go to Mesh → Normals → Recalculate Outside (or press Shift+N). For materials with a normal map, check that the Normal Map node is set to the correct color space (Non-Color).
Problem: Asset imports as hundreds of separate objects
Cause: The FBX or OBJ was exported with each face or material as a separate object.
Fix: Select all imported objects in the viewport with A, then press Ctrl+J to join them into a single mesh. Note that this will merge all materials, if you need them separate, group them instead using parenting or collections.
Problem: Rig is deformed or bones are in wrong positions
Cause: FBX armature import settings do not match the export settings of the originating software.
Fix: Re-import the FBX with Automatic Bone Orientation checked. If that does not resolve it, try adjusting the Primary and Secondary Bone Axis settings. This is trial and error, FBX rig imports are the most inconsistent part of the format.
Problem: Materials look correct in Solid view but wrong in Render
Cause: The Principled BSDF inputs are not correctly connected for Cycles or EEVEE rendering.
Fix: Open the Shader Editor and verify all texture maps are connected to their correct inputs. Pay particular attention to the color space setting on each Image Texture node, roughness, metallic, normal, and AO maps should be set to Non-Color data. Only the albedo/diffuse map should be set to sRGB.
The Fastest Way to Import Assets Into Blender
Everything described above represents the manual import process. For artists who import assets regularly, sourcing from a marketplace or working from a large library, manual importing has a significant hidden time cost. Format checking, setting configuration, texture reconnection, scale fixing, and material repair can easily consume 30 to 60 minutes per asset in worst-case scenarios.
The fastest import workflow is a native bridge plugin that eliminates all of these steps.
The Korvix3D Blender Bridge Plugin lets you browse the entire Korvix3D asset library directly from inside Blender, in a side panel that sits alongside your 3D viewport. Click any asset and it imports directly into your active scene, correctly scaled, with materials connected, textures intact, at the right position. No format selection, no import settings, no texture hunting.
For artists who import assets regularly, the time saved by a bridge plugin versus manual importing compounds into hours saved per project.
[Install the Korvix3D Blender Plugin →] https://www.korvix3d.com/assets
[Browse the full asset library →] https://www.korvix3d.com/pricing
Pro Tips for Faster Blender Asset Imports
Use Append instead of Import for .blend files. If your asset is available as a .blend file, use File → Append rather than importing. Append lets you selectively bring in specific objects, materials, or collections from another .blend file with perfect fidelity, no conversion, no data loss.
Pack your textures once you are happy with an import. After a successful import with textures correctly connected, go to File → External Data → Pack Resources. This embeds all textures directly in your .blend file so you never get missing texture errors when you move the project folder.
Save a clean import as a .blend template. Once you have a successful import with correct materials and scale, save that .blend file as a reference. Future imports of assets from the same source will use the same settings, and you have a working example to compare against if something goes wrong.
Use Collections to organise imported assets. Every imported asset should go into a named Collection immediately. This keeps complex scenes navigable and makes it easy to hide, isolate, or export specific assets later.
Check the System Console for import errors. Go to Window → Toggle System Console (Windows) to see detailed error messages during import. If something is not importing correctly, the console often tells you exactly why.
Frequently Asked Questions
Why are my textures missing after importing an FBX into Blender? FBX files reference textures via file paths that are often absolute (specific to the original artist's machine) or broken. After import, go to File → External Data → Find Missing Files and point Blender to your texture folder. Alternatively, choose GLTF/GLB format if available, it embeds textures and avoids this problem entirely.
Why does my imported asset look tiny or enormous in Blender? Scale mismatch is the most common FBX import issue. Re-import with Scale set to 0.01 in the import settings. If the asset is from a source that exports in metres, use Scale 1.0. After import, you can also manually resize with S and type the scale factor.
Can I import multiple assets at once in Blender? Yes. In the import file browser, you can select multiple files by holding Shift or Ctrl and clicking. All selected files will import simultaneously. Note that they will all use the same import settings, so this works best when importing multiple assets of the same format from the same source.
What is the best format to import 3D assets into Blender? GLTF/GLB is the most reliable format for Blender imports. It supports PBR materials natively, imports textures correctly, and handles scale consistently. Use FBX when GLTF is not available, particularly for rigged characters and game assets.
How do I import an asset and keep it linked to an external file? Use File → Link instead of File → Append or Import. Linking creates a live connection to the source .blend file, changes in the source file propagate to your scene automatically. This is ideal for assets shared across multiple projects that may be updated over time.
Does Blender support USD import? Yes, Blender 3.0 and above supports USD (.usd, .usda, .usdc, .usdz) import and export. Support has improved significantly in Blender 4.0.